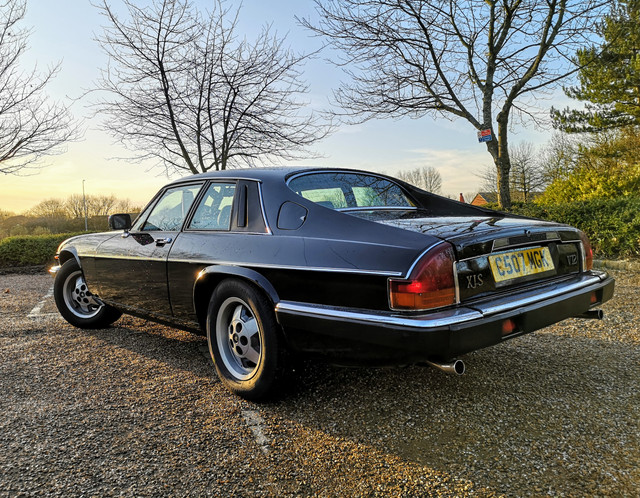
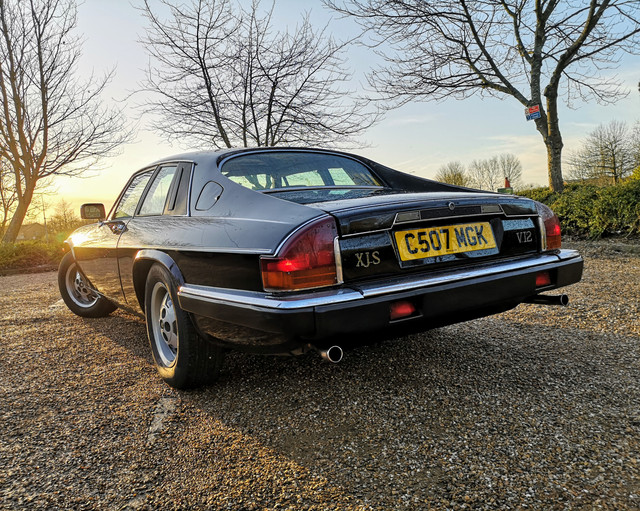
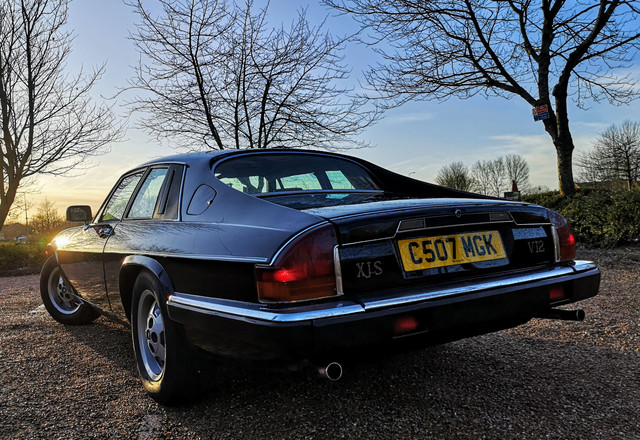
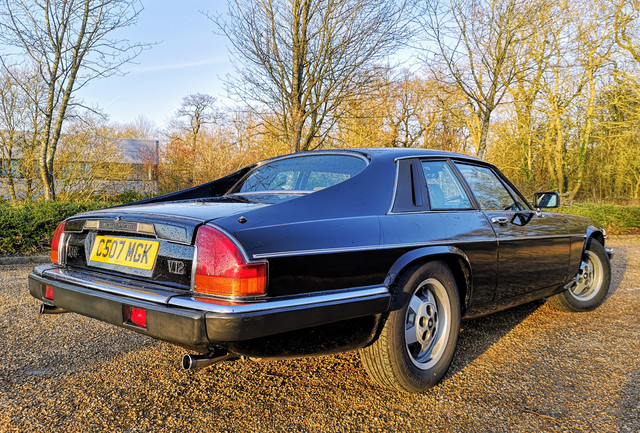
Zel's Fleet Blog - BX, Jag XJ-S, Sinclair C5, Mercedes 208D & 230TE, AC Model 70.

Tell us your ongoing tales and experiences with your French car here. Post pictures of your car here as well.
User avatar
Zelandeth
Donor 2024
Posts: 5286
Joined: 16 Nov 2014, 23:36
x 1591

Re: Zel's Fleet Blog - Xantia Activa, Jag XJ-S, Sinclair C5, Mercedes 208D, AC Model 70.

Unread post by Zelandeth »

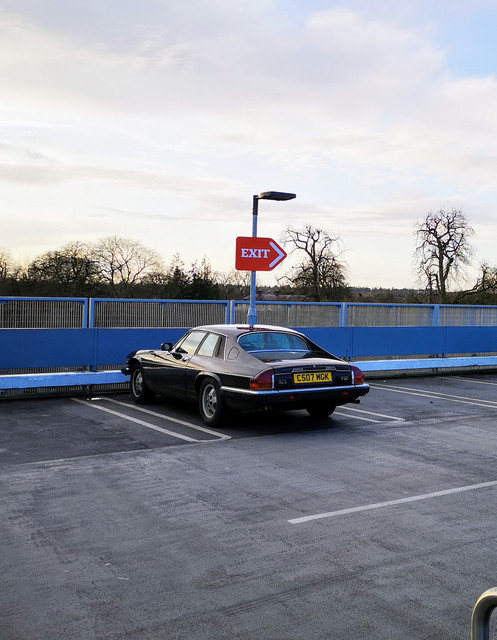
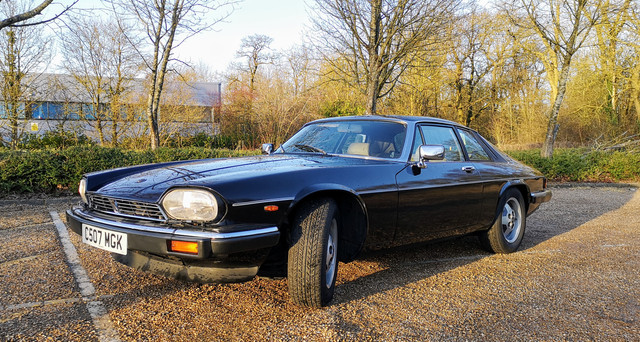
Made a quick run out of town today, partly for a change of scenery and partly as it's an excuse to drive on slightly nicer roads.

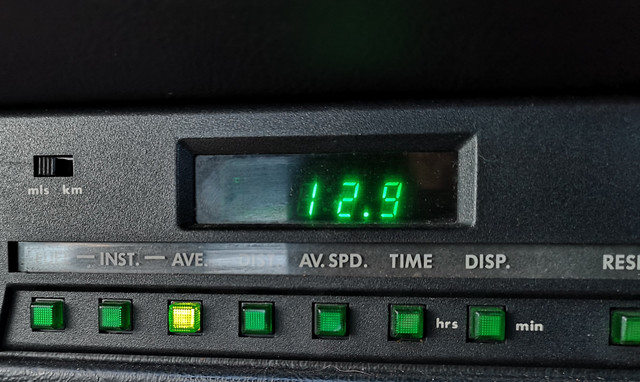
This has definitely improved my average fuel consumption from the previous 11mpg, but is still "far from frugal."

Image

On the two tanks I've got real world data on, the trip computer has proven to be pretty much spot on actually. ...Which is slightly depressing and is why it generally gets left with the clock showing!

I think one of my jobs for this weekend will be getting stuck into the distributor and making sure the vacuum advance system is working properly. Not having driven the car knowing this is working means it's hard to tell if she's down on power as torque is in such plentiful supply! It would obviously have a big impact on economy though.

This also potentially has a huge impact on the exhaust gas temperature which really isn't great for the exhaust valves, which is something we want to rectify sooner than later I think given my reading seems to suggest that these engines dropping valve seats isn't unknown if the heads get unduly hot.

Now, to figure out how to get at the distributor without having to remove the cruise control assembly and half of the fuel injection system...

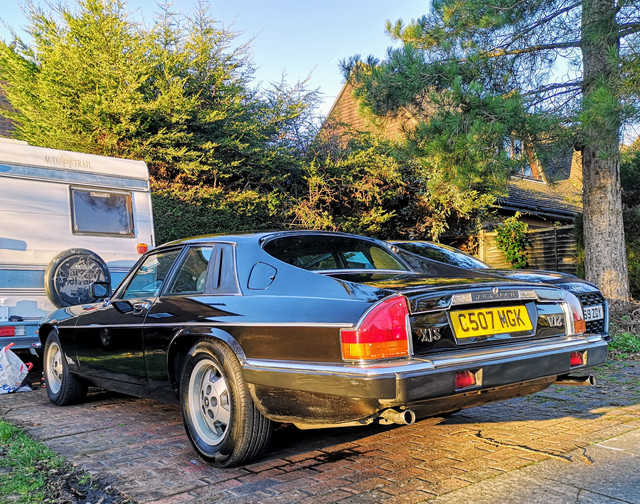
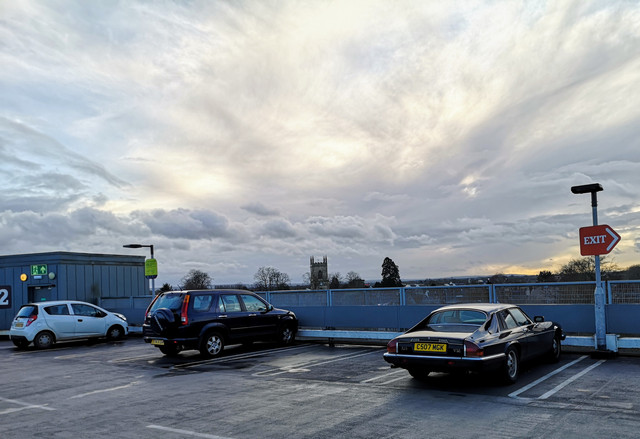
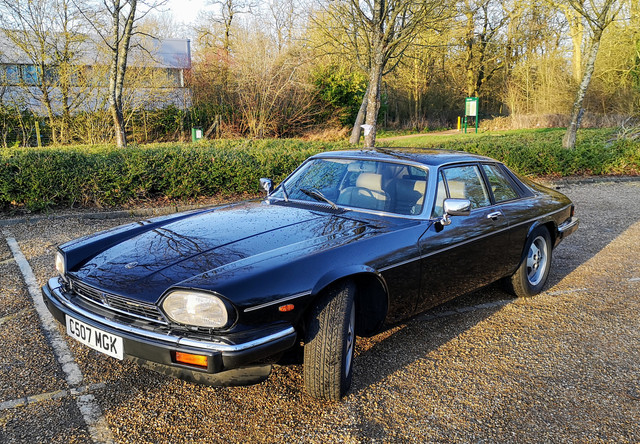
The "Hey, that's a lovely looking car...wait...that's *my* car!" reaction when walking back to it in car parks definitely has hasn't worn off yet.

Image

Image

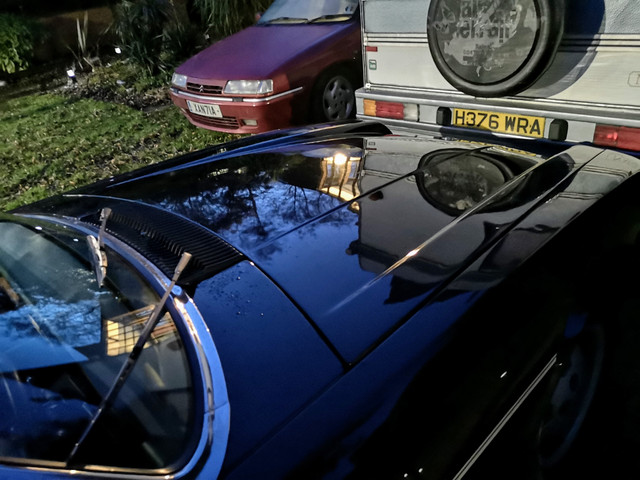
Managed to get it a very quick blast over at the jet wash today (hoping to do it by hand at the weekend so mainly wanted to get the moss out of the window seals etc), get the impression this won't come up bad with a bit of work.

Image

At least I've got rid of the huge greasy hand print I left on the bonnet a few days ago now.
Current fleet:
07 Volvo V70 SE D5, 85 Sinclair C5, 84 Trabant 601S, 73 AC Model 70, 62 Rover 110.
User avatar
xantia_v6
Forum Admin Team
Posts: 10910
Joined: 09 Nov 2005, 22:03
x 1438

Re: Zel's Fleet Blog - Xantia Activa, Jag XJ-S, Sinclair C5, Mercedes 208D, AC Model 70.

Unread post by xantia_v6 »

Before you get into the distributor, you might want to check the vacuum plumbing. There are two manifold vacuum ports, a vacuum regulator, a dump valve and the valve of the warm-up system, so lots of hoses to connect wrongly.

You do need to remove the cruise control mechanism to get at the distributor (not difficult) , and maybe the PCV pipe that runs above the distributor.
I would recommend pulling all the leads out f the cap, after taking a picture of how they are knitted (to save time later).
Then you should be able to take the cap off (3 screws).
After pulling off the rotor you get to the flash shield, held on with 4 screws, then you get to the vacuum advance mechanism. Not that some vacuum capsules have an internal bleed hole, so seem to be leaking, even if they are OK.

You should also look carefully at the centrifugal advance, as the factory lubricated them with grease which is much too stiff and dries to gum up the mechanism completely. If the grease is still present, iit should be washed out and replaced by a suitable oil.

If you decide to remove the distributor, take a photo showing the position of the rotor and the angle of the body relative to the manifold, to avoid reassembling with the timing one tooth out.
The distributor is held in by 3 cap-screws access from above, but they must be loosened and tightened progressively to avoid the heads hitting internal components.
User avatar
Zelandeth
Donor 2024
Posts: 5286
Joined: 16 Nov 2014, 23:36
x 1591

Re: Zel's Fleet Blog - Xantia Activa, Jag XJ-S, Sinclair C5, Mercedes 208D, AC Model 70.

Unread post by Zelandeth »

Doesn't sound too bad then.

Taking the cruise control actuator out isn't necessarily a bad thing as I want to take a closer look at it anyway to check on the condition of the bellows.

Doesn't sound like there's any real reason to remove the whole distributor then if it can be cleaned up in situ. Is there any particular type of oil that's recommended?

Will be wanting to go over the vacuum system anyway as the timer based vacuum advance inhibitor will be wanting re-engineering. I reckon rather than totally disabling it I'll do away with the timer element and just hook the system straight up to the thermoswitch, so it will cut out as soon as the coolant hits 45C rather than necessarily waiting the full 15 minutes.

Really do appreciate the advice on this. It's one thing having a load of documents in front of you, but hearing things first hand is always really useful.
Current fleet:
07 Volvo V70 SE D5, 85 Sinclair C5, 84 Trabant 601S, 73 AC Model 70, 62 Rover 110.
User avatar
Zelandeth
Donor 2024
Posts: 5286
Joined: 16 Nov 2014, 23:36
x 1591

Re: Zel's Fleet Blog - Xantia Activa, Jag XJ-S, Sinclair C5, Mercedes 208D, AC Model 70.

Unread post by Zelandeth »

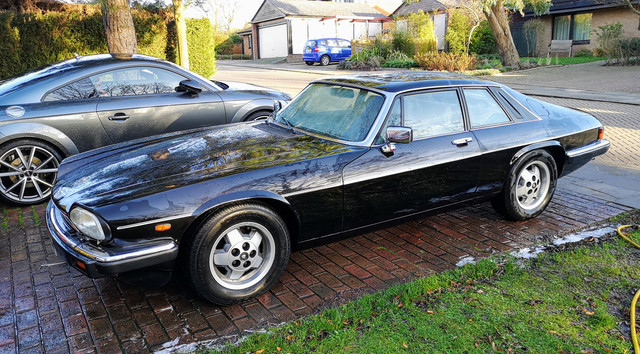
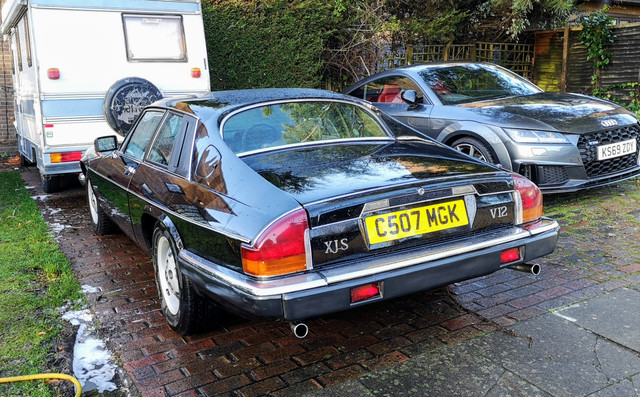
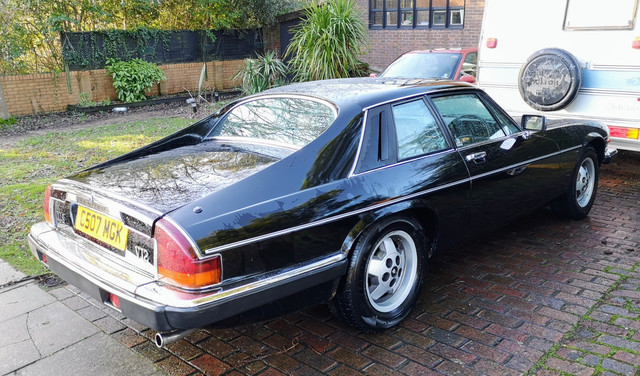
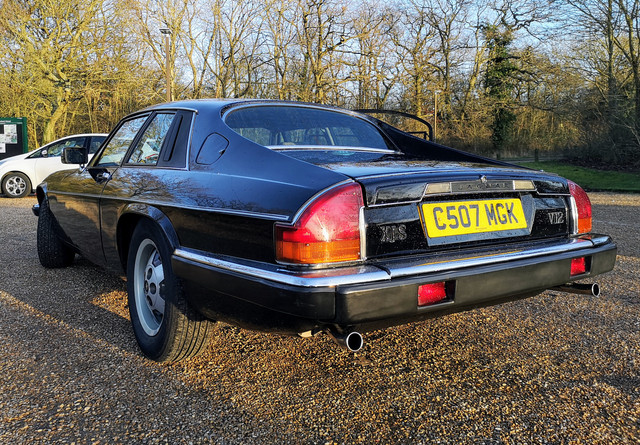
Finally had an opportunity to give the Jag a proper wash today.

Image

Image

Image

Which gave me the chance to give the bodywork a bit of a better appraisal.

The rear arches definitely need some attention sooner rather than later. Probably not a massive job to sort now, but give it a few years and it will be far harder.

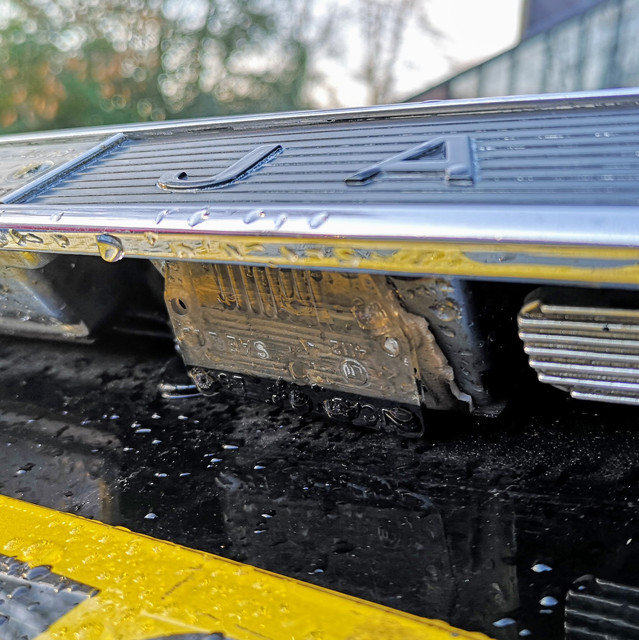
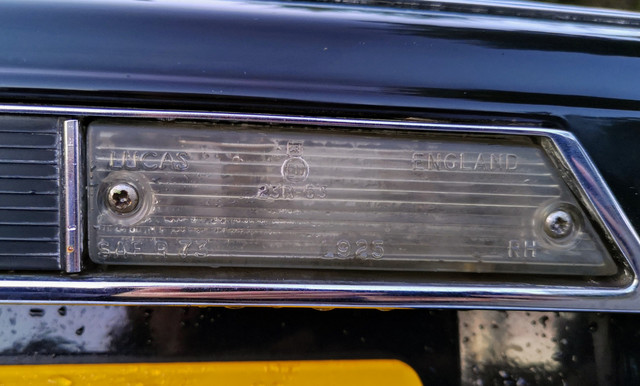
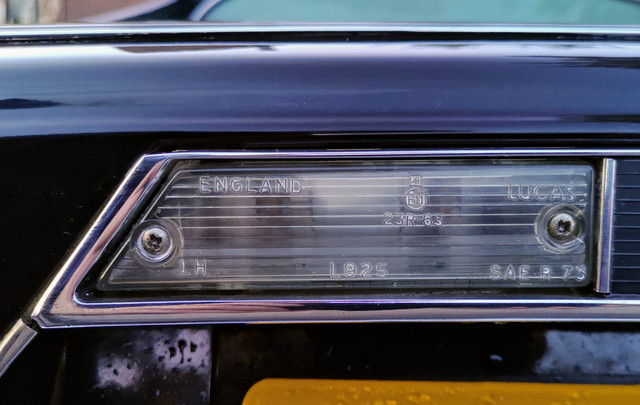
Not quite sure what's going on with the number plate lights. Looks like the lenses have sort of disintegrated (and half painted over during the respray).

Image

There are a couple of wide washers on the original screws which are sort of wedging the lens half in place. Methinks replacing these will be on the cards. Though they're £25 apiece so might not be particularly high on the list just now.

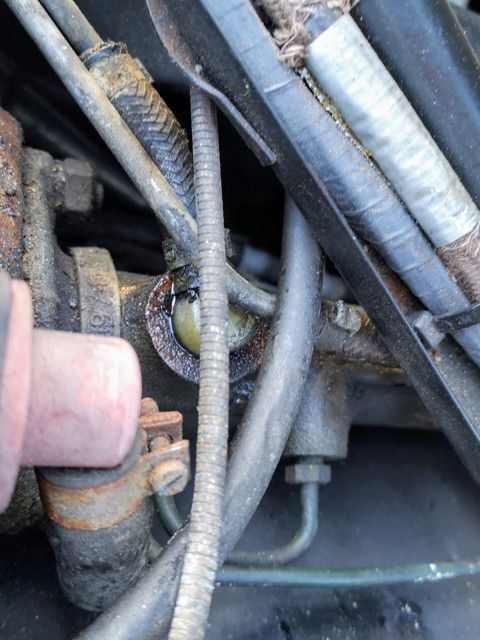
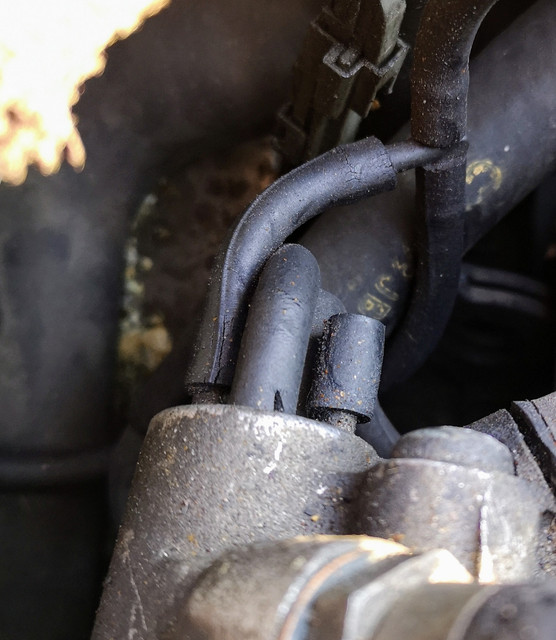
Spotted something which I'll need to attend to at some point shortly. Looks like the seals under the feed hoses to the brake master cylinder need changed.

Image

I'll make sure it's not the hose weeping first though.

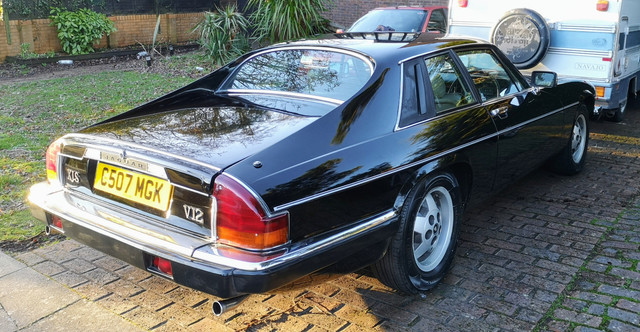
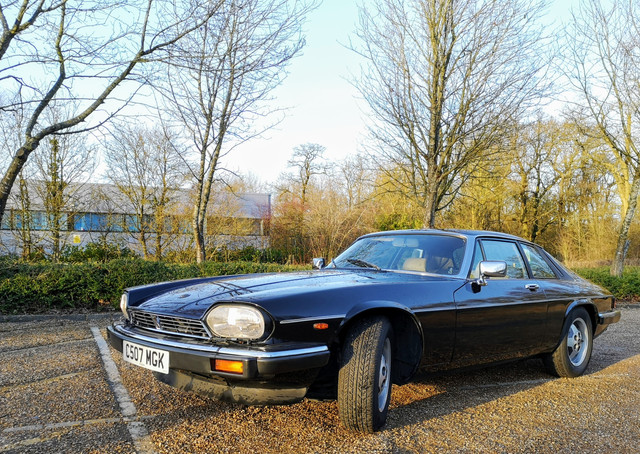
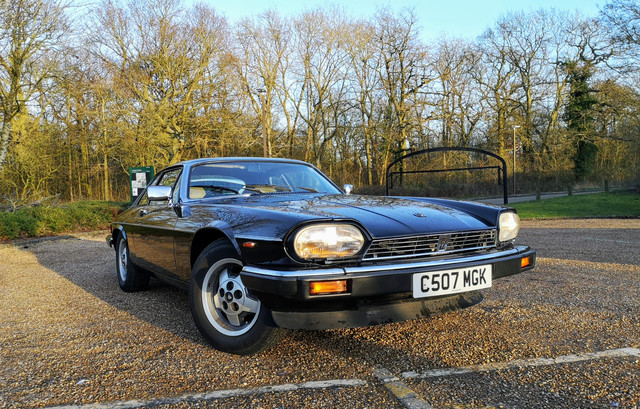
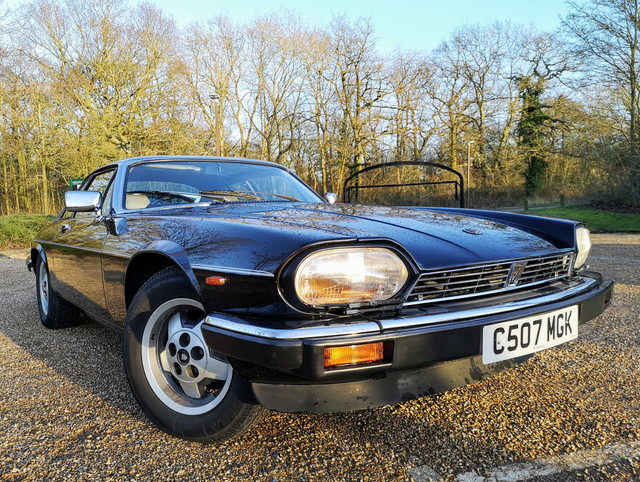
While the car was actually clean for ten seconds I decided to grab a couple of better photos.

Image

Image

Image

Image

Image

Image

Image

Image

Image

Image

Figured that the next thing it would be sensible to do would be to throw some wax on to protect the paint until I have time to fully polish it. This it turned out was a mistake. I didn't spot the words "new and improved formula" on the bottle of aqua wax until after I'd sprayed half the car with it. Being new and apparently improved of course translates to "no longer behaves as I expect it to." As such I then spent nearly two hours trying to buff it off, without seeming to get anywhere.

Tomorrow I'll set about polishing and waxing it properly if the weather plays ball.

Planning to get into the distributor in the week when I should have a couple of afternoons with a decent chunk of time without interruption. Don't want to do that tomorrow as there's too much chance of me getting dragged off for other tasks and it's a job I'd rather get done in one shot rather than having to down tools and come back having forgotten half of what I'm doing.

Last little job I had a look at before tidying up was to see if the foggy reversing light lenses would clean up. It's a small detail but their being milky, dull and yellowed is quite obvious when looking at the rear of the car.

Before:

Image

After:

Image

That scrubbed up nicely, could probably do with a second pass (and the polish residue cleaning out of the lettering), but looks far better. I'll probably do all of the tail light lenses as even though they're not as bad as the reversing light ones they're all quite dull.

Speaking of tail lights, I do wonder how much of the US spec running lights is present in the cluster...I believe over there the little retro reflector in the side facing part of the indicator would have had a little 5W lamp behind it.

Sorry, I will stop spamming the thread with photos of this car eventually...
Current fleet:
07 Volvo V70 SE D5, 85 Sinclair C5, 84 Trabant 601S, 73 AC Model 70, 62 Rover 110.
User avatar
xantia_v6
Forum Admin Team
Posts: 10910
Joined: 09 Nov 2005, 22:03
x 1438

Re: Zel's Fleet Blog - Xantia Activa, Jag XJ-S, Sinclair C5, Mercedes 208D, AC Model 70.

Unread post by xantia_v6 »

The number-plate light lens design appears to be a bit of a hack make out of two pieces of plastic that they fastened together for the prototypes, but BL being tight with the purse strings, they put it into production like that and never go around to tooling a proper part. They all seem to disintegrate in the same way.

When fixing the feeds to the brake master cylinder, you will need to replace the hoses as well, as they will be rock hard and will need to be cut off of the fittings.

I have actually spent all day today working on my XJ-S. It is booked for a WOF ( the NZ equivalent of an MOT test) tomorrow, and I happened to look underneath and the fuel lines and rear brake line were hanging much lower than they should have been. Now I know that some of the clips have been missing since 1987, but it was not obvious why they had suddenly dropped particularly at the front.

I went to look under the bonnet, but you cant see anything without removing the air filters, and the right hand filter box would not come off, it was hitting the inner wing. Only a minor leap from there to realise that the RH front engine mount had collapsed. I spent some time going through all my boxes of Jaguar parts (most of which have not been disturbed for 20 years, but the only engine mounts I found were for an e-type, and had the wrong flange on them.

Given that it was Sunday, and the earliest I could possible get a new part here was Tuesday, I spent an hour making an adapter plate so the the E-type mount would fit the XJS. I also spent about 3 hours removing the old mount and fitting the new one, I was very lucky that it was the RH mount, because I looked at the LH one and cannot see any way to get a spanner onto either end of it without removing several major components.

Thinking about it now, I may have damaged the engine mount a couple of years ago when I partially dropped the front subframe to replace the lower wishbone bushes (a job that requires removal of the steering rack).

Funnily enough, after replacing the engine mount, the fuel and brake lines were still hanging far too low, so I had to find and fit some new P-clips, a task I had postponed for only 32 years.
User avatar
white exec
Posts: 7445
Joined: 21 Dec 2015, 12:46
x 1751

Re: Zel's Fleet Blog - Xantia Activa, Jag XJ-S, Sinclair C5, Mercedes 208D, AC Model 70.

Unread post by white exec »

BL construction! I got the impression that Jaguar never expected their cars to stay on the road for very long, but to lead a fast and furious life, in the hands of folk who had deepish pockets, and would just move on to the next one after not too long, with any servicing being done by someone else. As such, so long as new cars sold briskly, that was what mattered.

Some of the cars seemed extraordinarily cheap (wasn't the E-type just over £1000 at one time?), and Rover, for example, had a bit of a problem competing with Jaguar on the pricing front. This differential was finally addressed with the launch of the SD1, which was not an expensive car to build, but Jag's M.D. apparently threatened to resign if Rover launched SD1 (or RT1, as it was) with the 3.5 V8, so it wasn't, getting instead Triumph's 2300 and 2600 six.

A freelance workshop near us (in Nerja) hosts a number of owners/mechanics of classic cars, who work on and restore them. At any one time, there are usually a couple of E-types there. A while back, while working on the underside of the XM, I got to chat to the guy working on a chocolate brown E-type. Underbonnet, the engineering was just appalling: the usual assortment of SU, Lucas, and other components - but installed in a decidedly untidy and amateur fashion. The SU throttle linkage was laughable; no wonder some triple-carb E-types needed tuning weekly! Frail struts held the underbonnet structure together - pretty much on a par with the Triumph Herald.

My impression (personal, I accept) is that this kind of construction might be fine for competition use, but to put it into production for road-going models is something that should never have happened, and wouldn't be remotely acceptable today. OK, they were cars of their times, but I don't remember many other major saloon car makers buiilding such tacky stuff, even out of the Leyland stable.
Chris
User avatar
Zelandeth
Donor 2024
Posts: 5286
Joined: 16 Nov 2014, 23:36
x 1591

Re: Zel's Fleet Blog - Xantia Activa, Jag XJ-S, Sinclair C5, Mercedes 208D, AC Model 70.

Unread post by Zelandeth »

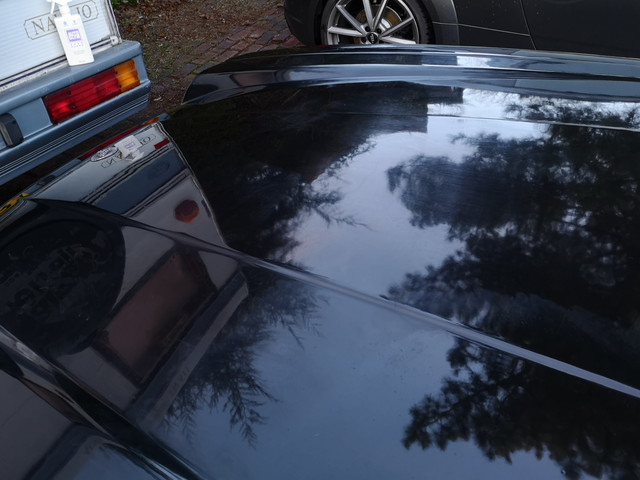
Yesterday I ended the day with a car covered in smeary, hazy wax marks that refused to buff off. This was highly annoying.
Image

That bottle has now been binned. I'm not playing that game again.

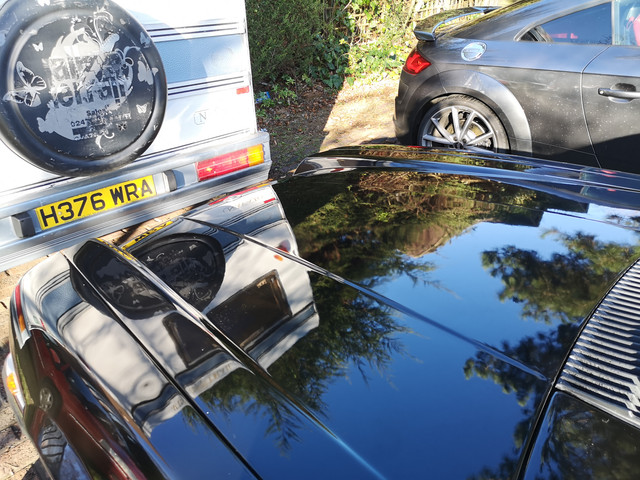
Step one for today, after a bit of experimentation, was to polish the car end to end to get rid of that residue.
Image

Much better. Though having just made the car shiny again, it was immediately made un-shiny again by throwing lots of (probably a bit much to be honest, but I struggled to get this to go on thinly) wax at it.
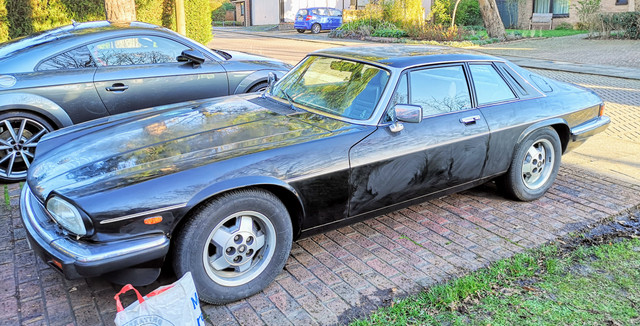
Image

This behaved much more as expected and didn't cause me any headaches.

I did give the tail light lenses a skim over with the cutting paste to bring them back to life a bit as they were quite matt and hazy, they came up pretty decent. They're still a bit tired but look way better than they did.
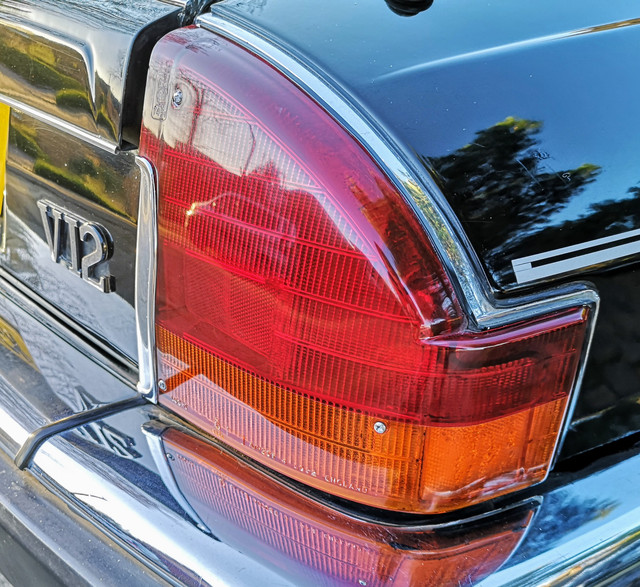
Image

This is the reflector which in the US would have a small lamp behind it serving as one of the position lights I believe. There's an obvious space for a 5W capless lamp but sadly no lamp holder.
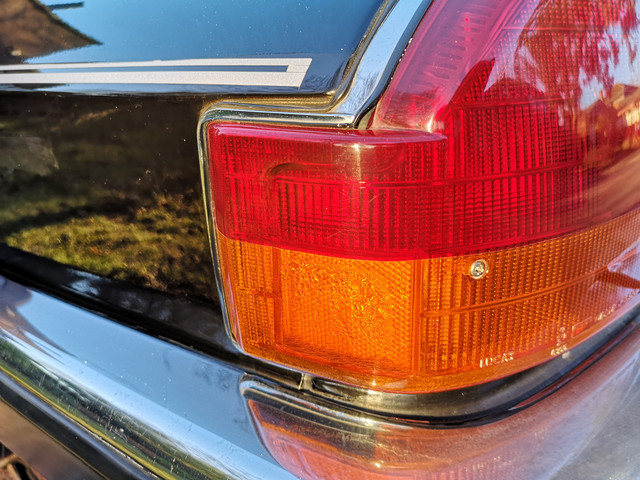
Image

Thinking I may retrofit this as these days I'm all for anything which makes the car more visible. I don't believe there's a roadworthiness issue with a steady amber light being shown to the side of the vehicle when the headlights are lit.

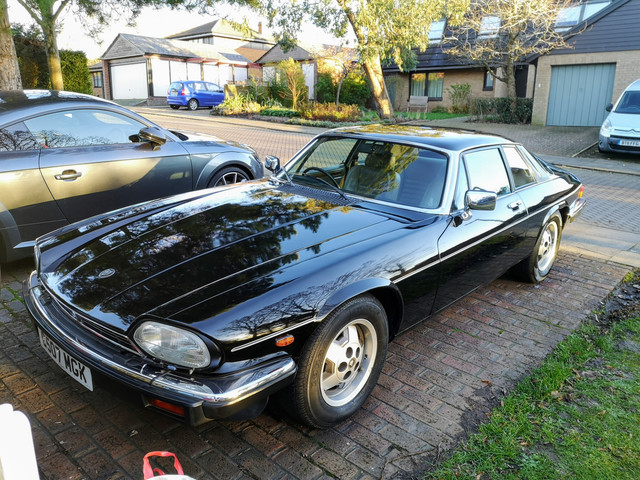
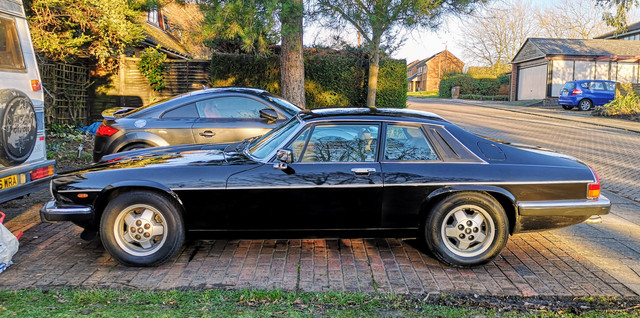
At the end of the day once all the wax was buffed off and the bumpers etc given a going over with the rubber treatment this is what we were left with. Need to do that again as they absorbed the rubber treatment like a sponge - guessing it's a while since they saw attention. Looking better though.
Image

Image

Image

Image

Ignore the puddle under the back of the car... that's from the bottle of antifreeze I knocked over in the boot earlier that started leaking unknown to me until I noticed that puddle forming. Oops.

Starting to look like a Jag deserves to.

Last task for the day before I ran out of daylight was to investigate the utterly horrendous reproduction from the stereo. Attempting to turn the bass control up anywhere above zero resulted in it sounding like a gazoo being played through a guitar distortion pedal...

I knew that something looked off about the speaker installation even before I picked up any tools.

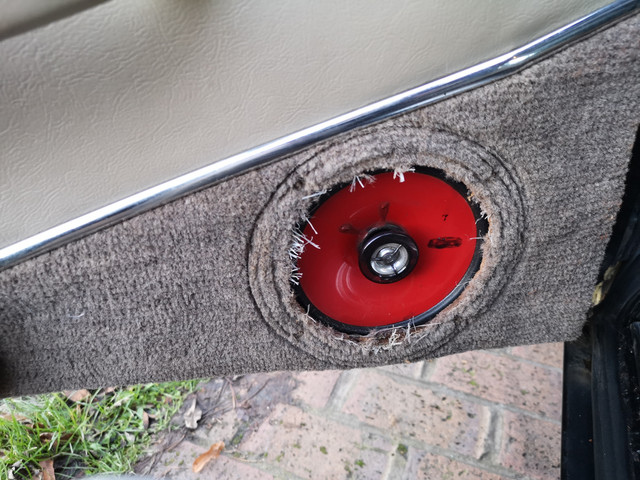
The moment I went to remove the covers it became abundantly clear why things were sounding so laughably poor.
Image

Firstly, the speaker isn't fastened to anything aside from the flimsy fibreboard door card. Secondly, it's fastened to the wrong side of it, so the cutout (which I am assuming is sized for the stock speakers...which were probably better than this rubbish) is leaving the door card actively pressed up against the periphery of the speaker cone. Thirdly, the door card is flapping around in the breeze because whoever installed this broke half the trim clips and never replaced the adhesive tape around the edge. Fourthly, they never put a weather shield over the speaker, so it was full of water and consequently is knackered.

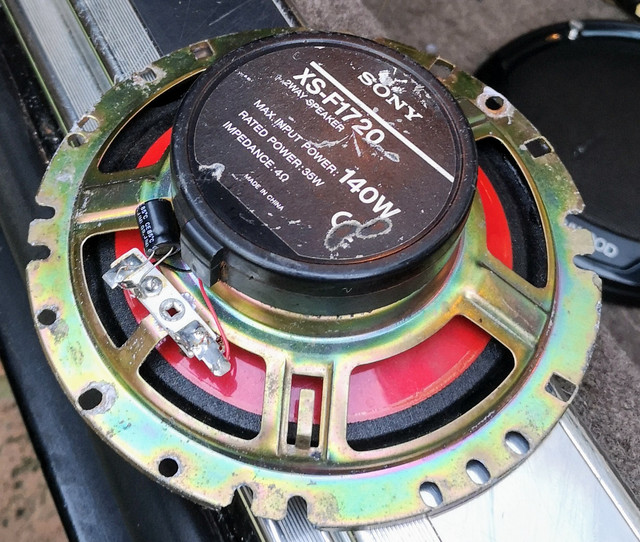
While the covers said Kenwood, what came out is Sony badged...but it's clearly a bargain basement piece of Chinesium with a Sony badge on.
Image

The fact that it weighs less than half what the little 100mm drivers I installed in the van last year says a lot I think...only place these are headed is the electronic recycling bin.

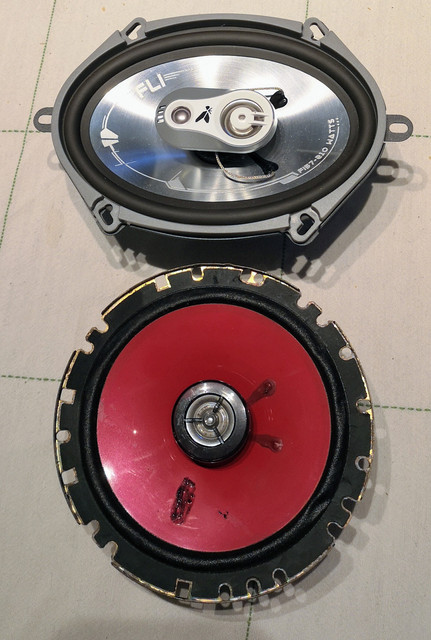
It's a shame they've marked the door cards so badly (and I think cut it away a bit on closer inspection) as otherwise I'd look to find a replacement for the original speaker covers and replacement drivers in the original size. As it is, the damage is already done so no point worrying about it. I did wonder about putting these 5x7s in as they've been looking for a home for a few years now (bought for something else where I discovered they were too deep for).
Image

However that will involve hacking away more of the door card which I'd really rather avoid. Plus I'd need to buy a cover for them anyway as I've no idea whatsoever where the ones that came with these speakers have gone.

So I'll pick up something new. Based on what's available locally and at a sensible price, will probably be a pair of Pioneer TS-R1350S units I think as they should fit in the existing cutout (properly fitted this time!). I'll probably get a cheap set of generic plain black mesh covers for them to make it blend in and look a bit less obviously aftermarket. I'll then take a better look at the setup in the back and decide what to do there. It looks like identical speakers have been fitted, and I'm expecting them to have been just as poorly fitted. They're a bit less mission critical though as once the front ones are sorted at least the stereo will be listenable.

I'll obviously take the opportunity to resecure the door cards properly as well and reinstate the weatherproofing shield that I'm sure should be in there. May as well cavity wax the inside of the doors while I'm in there.

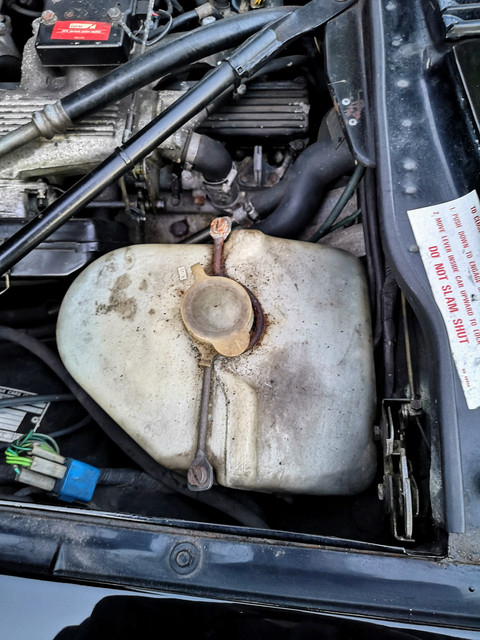
Had a shot at getting the washer bottle out for cleaning just before closing up for the evening, however the fasteners are utterly disinterested in moving, so they have been doused in Plusgas and I'll try again tomorrow. At least it's one of the few things in the engine bay that are easy to get to!
Image

So this evening I am finally roughly where I had hoped to be this time yesterday before the nonsense with that horrible Aqua Wax stuff. On the plus side, at least the car has now had at least a quick polish. The bonnet I reckon in particular would benefit from a proper going over with the machine polisher at some point, but the rest of the car hasn't come up badly at all.

Current fleet:
07 Volvo V70 SE D5, 85 Sinclair C5, 84 Trabant 601S, 73 AC Model 70, 62 Rover 110.
User avatar
myglaren
Forum Admin Team
Posts: 28627
Joined: 02 Mar 2008, 13:30
x 5640

Re: Zel's Fleet Blog - Xantia Activa, Jag XJ-S, Sinclair C5, Mercedes 208D, AC Model 70.

Unread post by myglaren »

All that work starting to pay off. They are a very sleek looking car. A customer had a red one a while back but it was a new one.

There is a fine example in this video, from 1' 44"


Always looks very impressive.
User avatar
Zelandeth
Donor 2024
Posts: 5286
Joined: 16 Nov 2014, 23:36
x 1591

Re: Zel's Fleet Blog - Xantia Activa, Jag XJ-S, Sinclair C5, Mercedes 208D, AC Model 70.

Unread post by Zelandeth »

Turns out that I really do need a new distributor cap, the breather line attachment point on it has snapped off at some point and has been messily glued (unsuccessfully) back in place. Given that the distributor venting system pulls air through the cap this is sub optimal as it essentially means I now have a source (albeit a small one) of unfiltered air being drawn into the engine. New cap has been ordered. Seems daft not to do the rotor arm at the same time...though in true Jag fashion it's more expensive than the cap (£25 for the rotor arm, £20 for the cap)! Once these are in my hands I'll get started on striping the distributor down and servicing it.

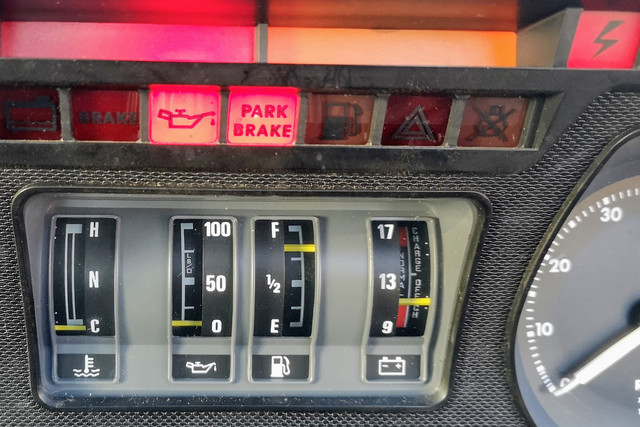
I wanted to at least try something with the oil pressure gauge today before starting pulling the cluster out to investigate that (there's definitely something amiss as all the gauges read slightly low - aside from the oil pressure one which does the opposite). I can see that the gauge does react to changes in pressure, as it varies when running between being physically pegged against the top of the gauge and sitting on the 100psi marker.

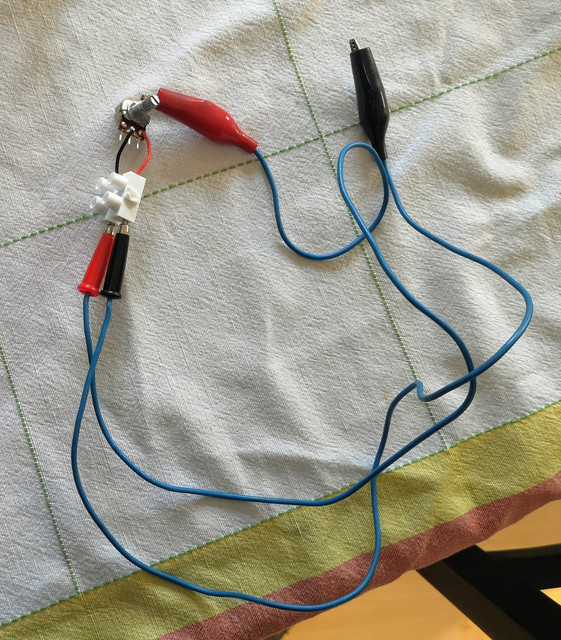
So I wanted to see if I could null out the offset and still get a usable reading by adding an additional resistor in series with the sender. As stated elsewhere, I have little interest in the actual numbers reported by it, I'm far more interested in learning what behaviour is normal for my car and then being able to spot any deviation from that behaviour.

One variable resistor to clip in series with the sender thrown together.

Image

With this clipped in it was a simple matter to "dial in" zero on the gauge with the ignition on but the engine not running.

Image

Sadly it appears that the response curve of this sender is incorrect (or there is something amiss with the gauge itself as we suspect) as this was the highest deflection of the needle I saw at any point with the engine running.

Image

I know these engines don't have great hot oil pressure, but I'd hope for more than that if stone cold.

Time to get the cluster out for a look I think. I need to dismantle it to some extent anyway to free up and lubricate the trip counter reset mechanism which currently jams every time you press the button.

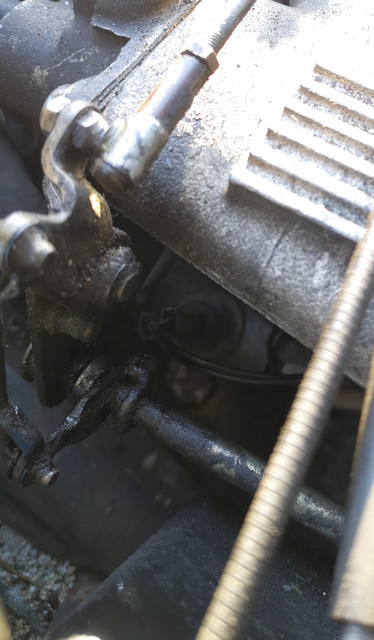
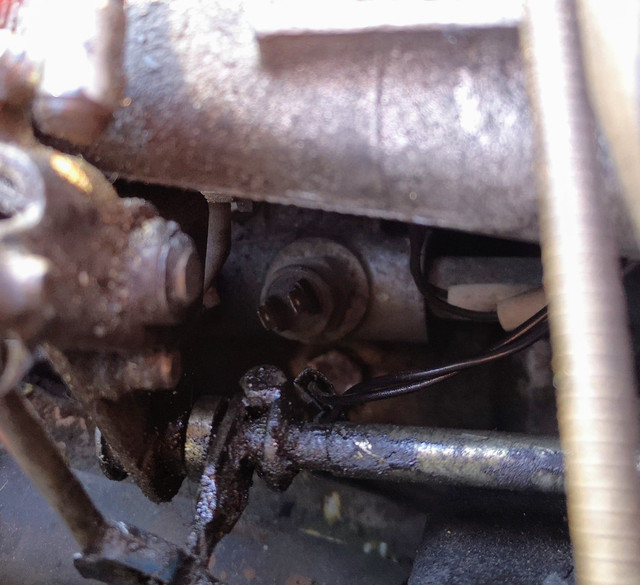
On the list of other small jobs I wanted to get done today was "kill the stupid warmup timer" which disables vacuum advance for 15 minutes from a cold or cold-ish start. This is easy enough to do simply by disconnecting the thermoswitch, which resides to the rear of the right hand coolant manifold. Just about visible in the shadows, centre frame below.

Image

In typical XJS fashion this dead simple job was made slightly more annoying by half the engine being in the way. However after a bit of swearing it was disconnected.

Image

The wires were then cable-tied out of the way. This should hopefully (at least once the vacuum advance system is working fully) save me a fair chunk of fuel around town or during shorter journeys. At some point in the future the hardware involved in this system may well be removed. The general consensus among marque experts is that it's really unnecessary...and I figure anything which removes clutter from that engine bay can only be a good thing.

While doing that though it was noted that quite a few vacuum lines are past their past.

Image

Will get a bunch of hose ordered in and assume they are all in a similar state...never know this might make the cruise control spring back to life! Will take a while to do though, there are a LOT of vacuum lines!
Current fleet:
07 Volvo V70 SE D5, 85 Sinclair C5, 84 Trabant 601S, 73 AC Model 70, 62 Rover 110.
User avatar
white exec
Posts: 7445
Joined: 21 Dec 2015, 12:46
x 1751

Re: Zel's Fleet Blog - Xantia Activa, Jag XJ-S, Sinclair C5, Mercedes 208D, AC Model 70.

Unread post by white exec »

Some BL cars of that era had a voltage stabiliser, output of 10v, for all the gauges to run from.
Idea was to make them immune to varying battery/system voltage, and make their readings stable.
Might be worth checking if there's one there.
Chris
User avatar
xantia_v6
Forum Admin Team
Posts: 10910
Joined: 09 Nov 2005, 22:03
x 1438

Re: Zel's Fleet Blog - Xantia Activa, Jag XJ-S, Sinclair C5, Mercedes 208D, AC Model 70.

Unread post by xantia_v6 »

Jaguar did use the 10V stabilised gauges from the late 1950s until about 1980, but not on the XJ-S. Even on the cars that did have the gauge stabiliser, the oil pressure gauge did not use it but it had its own voltage compensation because the sender gave a pulse-width modulated signal which was compensated for current variations. Clever but unreliable...

This XJ-S gauges are all moving-coil gauges with quadrature coils to provide voltage stabilisation. It is possible to calibrate each gauge by adding or changing resistors.

Typically they do all seem to read low. I once had some data for the calibration points, but it is lost now.

I would like to know what are the markings on that sender, the case is the correct shape, but it could still be the wrong one.
User avatar
Zelandeth
Donor 2024
Posts: 5286
Joined: 16 Nov 2014, 23:36
x 1591

Re: Zel's Fleet Blog - Xantia Activa, Jag XJ-S, Sinclair C5, Mercedes 208D, AC Model 70.

Unread post by Zelandeth »

xantia_v6 wrote: 22 Jan 2020, 00:02 I would like to know what are the markings on that sender, the case is the correct shape, but it could still be the wrong one.
Sadly the only text I can make out on the sender are the letters "kgf" as it's been very faintly stamped, so the surface corrosion has obliterated the markings.

Given that it's relatively accessible compared to most things in the engine bay I'm tempted to replace it.

This looks to be the correct unit based on the application guide.

Guide to calibration of the gauges is something I'll need to have a rummage for as I'd like at least the voltmeter and temperature gauge to be right.

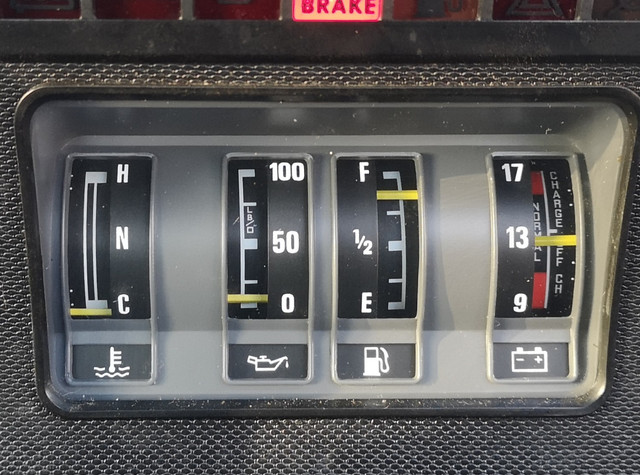
The fuel gauge is depressing enough as it is without it reading an eighth low! This is full.
IMG_20200112_154044~2.jpg
It goes down quick enough as it is.
Current fleet:
07 Volvo V70 SE D5, 85 Sinclair C5, 84 Trabant 601S, 73 AC Model 70, 62 Rover 110.
User avatar
xantia_v6
Forum Admin Team
Posts: 10910
Joined: 09 Nov 2005, 22:03
x 1438

Re: Zel's Fleet Blog - Xantia Activa, Jag XJ-S, Sinclair C5, Mercedes 208D, AC Model 70.

Unread post by xantia_v6 »

I just made a quick check on mine (which I believe to have the same sender/gauge combination as yours). With the engine stopped the resistance of the sender is 338?.
With a cold engine revved to 2500 RPM, the oil pressure should be regulated by the bypass valve to about 75 psi (my gauge reads about 65 psi, but i think it is pessimistic), the resistance is about 90?.
User avatar
white exec
Posts: 7445
Joined: 21 Dec 2015, 12:46
x 1751

Re: Zel's Fleet Blog - Xantia Activa, Jag XJ-S, Sinclair C5, Mercedes 208D, AC Model 70.

Unread post by white exec »

If a gauge insists on over-reading, despite the right sender, you could wire in a pot (on its sender input line) as a potential divider (not series resistor) to obtain the correct reading. This should preserve the sensitivity curve of the arrangement, I would think.
Alternatively, you could try reducing the supply voltage for the instrument with a regulator or zener diode.
What you can't do is put additional resistance between sender and gauge, or this will alter the gauge response curve.
Chris
User avatar
xantia_v6
Forum Admin Team
Posts: 10910
Joined: 09 Nov 2005, 22:03
x 1438

Re: Zel's Fleet Blog - Xantia Activa, Jag XJ-S, Sinclair C5, Mercedes 208D, AC Model 70.

Unread post by xantia_v6 »

If the gauge is the problem, I expect it is due to the voltage compensation coil (or its supply) being O/C. if it is the coil, a replacement gauge is really the only answer, I don't think that they are too hard to find, they are one part of the car that does not rust.