
I've had my bar out and in parts. (Although, for logfight bulb R&R I would just pop a headlight unit.)
Given the issues arisen, I think it would help the OP to fully remove the bar, unclip the parts and clean/inspect before reassembly. The hardest bits are trailing corners; there's a sideways bolt of either 10 or 13mm head size you need to wind out, then a little companion clip built into the bumper top edge adjacent.
As the weather is cold, making plastics brittle - thin stuff that's supposed to flex might appreciate gently warming up first with a hairdryer or fan heater. I've found even here where "winter" is 6°C on a cold day, that snappage is a greatly increased risk - and at PSA spare parts prices, that's no fun!
Xantia bumper trim NOW SORTED! Yey
-
trooper30
- Posts: 153
- Joined: 03 Dec 2009, 00:30
Well got it off, straightened up the lugs, give it a clean, popped it back on and hey presto 
Needs seating properly, a little touch up and maybe a tiny bit of filler on the chrome strip. Heres a before and after but Will show ya the finished product when i get the paintwork and the strip done.
BEFORE
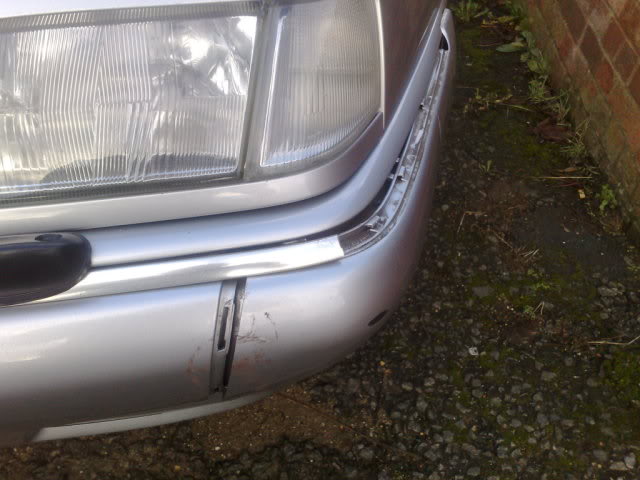
AFTER
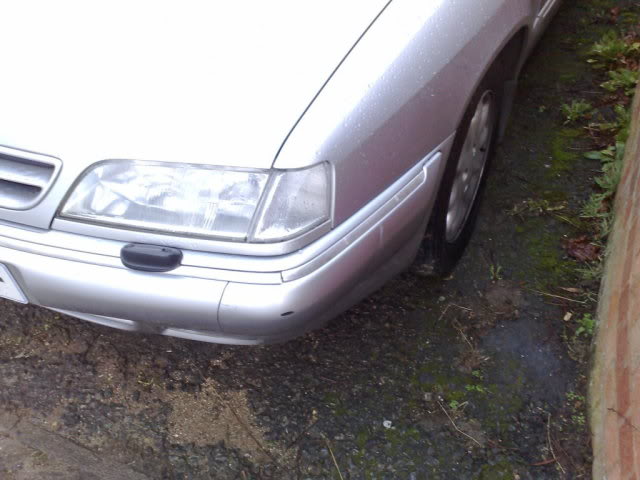
Needs seating properly, a little touch up and maybe a tiny bit of filler on the chrome strip. Heres a before and after but Will show ya the finished product when i get the paintwork and the strip done.
BEFORE
AFTER
-
VertVega
- Posts: 1178
- Joined: 01 Nov 2008, 19:39
- x 13
 Now we (I also) know for sure how that part is fixed.
 As a new Xantia owner you should get a Haynes manual but don't believe everything written there.
Forum members know better

Tip: If you want to view part drawings like the one I've sent in prev. page then you should also join/get user account
for service citroen pages (http://service.citroen.com/).
_______________________________________
Welcome to the forum and enjoy your Xantia 8)
_______________________________________
C5 II 2.0i 16V - 2005 - Estate - 103KW - EW10A - Petrol - Manual